
For the July Island Batik Fly Away Challenge we were asked to make flying geese. As many of you know there are several ways to make flying geese so I choose to do them the easy way at least for me, that would be paper pieced.
Picking out the colors is one of my favorite things to do when starting a new challenge project. This month I am using fabrics from the Island Batik Brilliant Blues Collection and a foundation piece for the background.

Next was to pick the pattern. I picked a Judy Niemeyer Log Cabin wall hanging pattern that would allow me to use the various shades of blues in the strip pack that I was sent from Island Batiks. These shades of blues made it easy to show the difference in blues when I used them on a lighter or darker background for the flying geese..
On to the paper piecing which is another on of my favorite parts of the process as you can really start to see what your design will look like.

After finishing the flying geese sections it was on to the log cabin blocks.
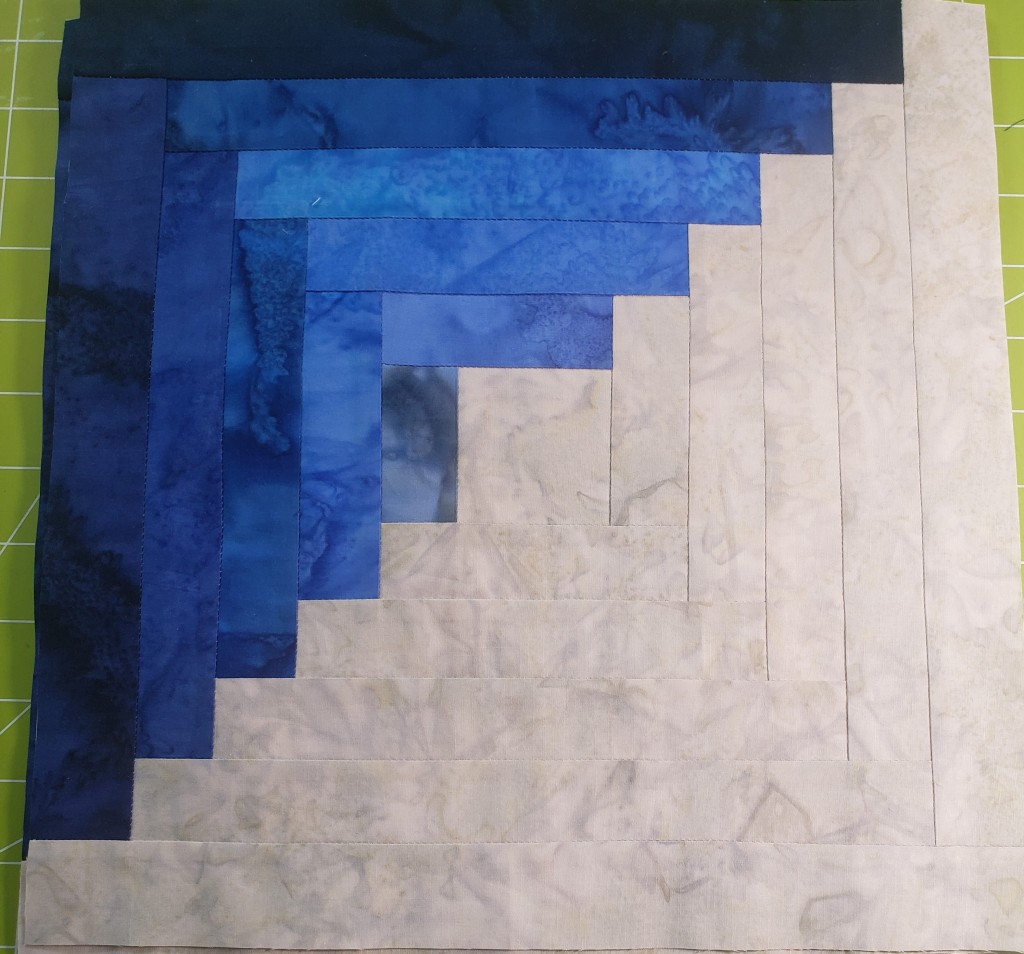
Once the log cabin blocks were made, comes another fun part of the process for some and others would say how could you cut up at log cabin block? Well in order to get the flying geese into the block you have to cut the block apart, making room to insert the flying geese.

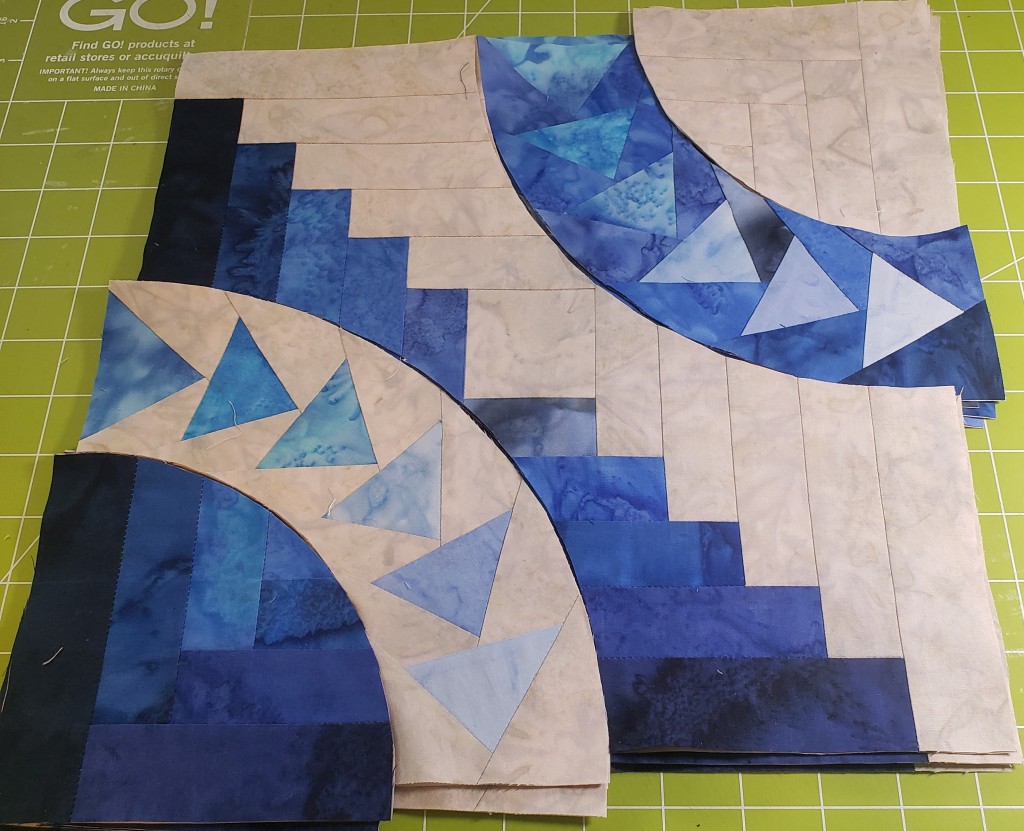
After cutting on the dotted lines you are left with some corner pieces and some rings. Sadly at this point I won’t be using the rings but like so many other quilters they will stay at home in a box waiting for another bright idea to come my way. Don’t worry they won’t go to waste.
Checking out the layout, there are so many options to choose from.

Dark geese units.

Dark corner units.
With the sections cut apart you can now see how the flying geese fit into the log cabin block. It may not look like it just yet but the flying geese units will fit perfectly into the log cabin blocks, as you can see in the next picture.
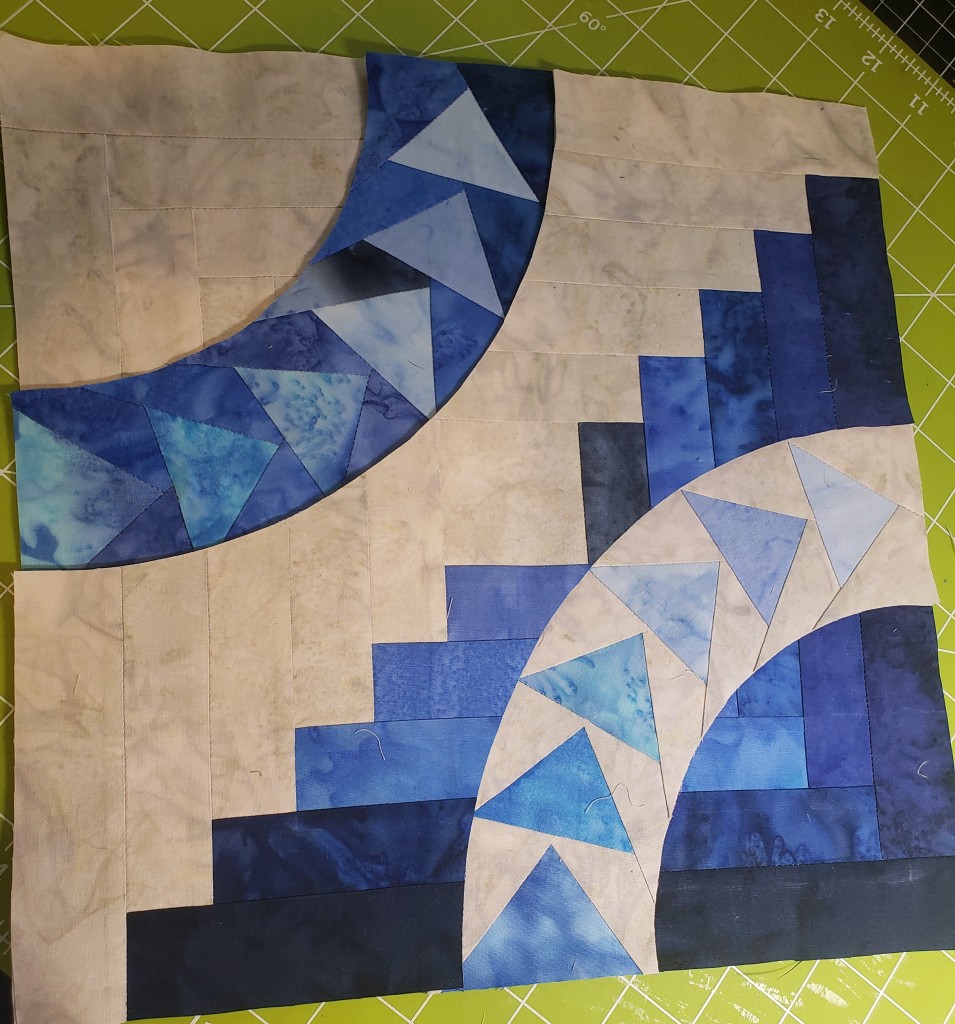
Once the flying geese are inserted into the log cabin blocks you are ready to put the four blocks together and add the border.

The border is constructed the same way as the flying geese by using the paper pieced method. This also allows you to add a small sashing, then miter the corners for a crisp clean look.
Mitered corners are not as bad as everyone makes them out to be, it’s just a “Y” seam and you are done. Sewing “Y” seams is one of my favorite things to do. I often trade my sewing friends something that I am working on, to do their “Y” seams when they are not excited about sewing them. Once you know the tricks to making them come out spot on you will be hooked.

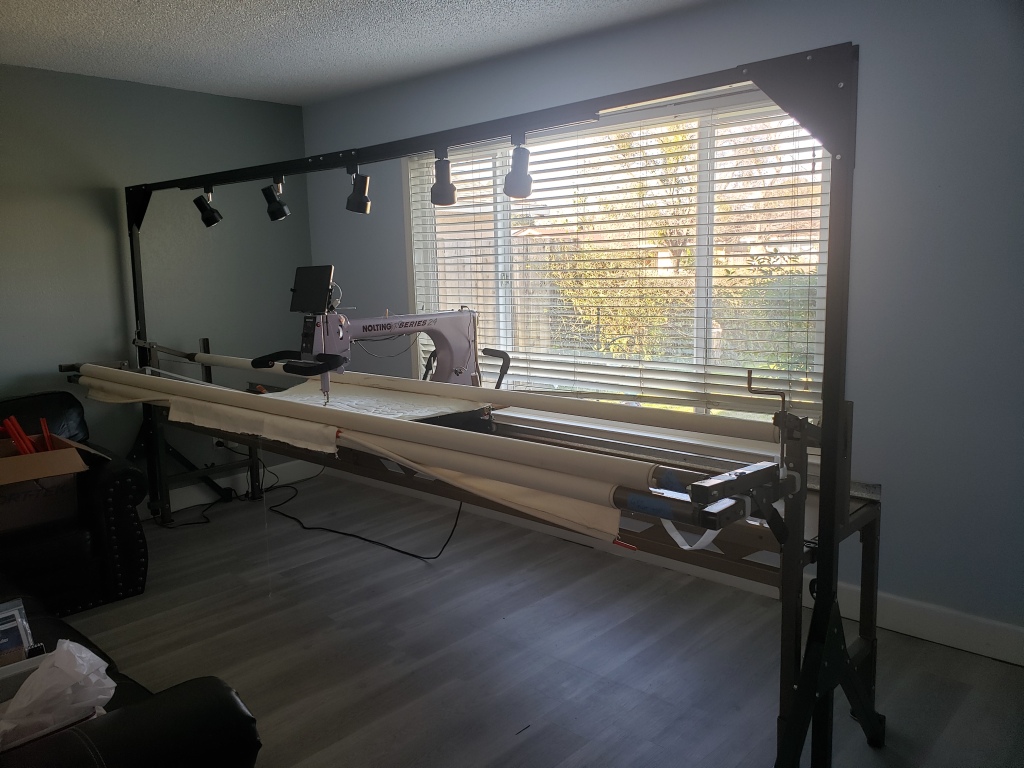
Now on to the longarm machine. Let me just say that I am new to being a longarmer. My 12′ Nolting machine lives in my living room. The longarm arrived in January of this year and it has basically just sat there and collected dust. My sister and I used it earlier this year and then stopped as life got in the way. Then one day I was trying to learn how to use the machine and I really messed it up and it sat again for a long time until I could figure out how to get it fixed.
With the time limit approaching on the Fly Away project I had to bite the bullet and try again to see if I could make this thing work.
I gave it another try as I waited for my sister to arrive and hold my hand through the process. I managed to get a few blocks sewn and decided I would go ahead and load the machine with my quilt.

Not knowing how to do an all over design I just went for it. Being in a hurry and again not really knowing what I was doing I didn’t baste the edge. No worries I got this, it’s just a small wall hanging. LOL
I start out strong! Then the foot gets caught on the batting because I didn’t baste and no matter how loud I screamed “STOP” the machine didn’t listen. It’s amazing how fast the machine can get all messed up.
Now seam ripper in hand I have to unjam the machine and try to start again. Oh this sounded simple but now I am starting to sweat and my patience are running thin. I turn on the whole house fan to get some relief and in the process I didn’t hear that my sister had paged me to tell me that she was here.
My sister gets in the house and we begin to come up with a plan to get this machine back on track, but now we have a hole in the backing fabric. We think that patching it would be a great idea so we can continue on. Not wanting to unload the machine and put a patch on we used blue painters tape to patch the hole. Yes you heard me right, blue painters tape.
Imagine that it worked! We got the machine up and running again, and at this point my sister is on the phone calling for help.
We both have no idea what we are doing and decided that we needed professional help, in more ways than one. My sister calls Joyce Blowers, the woman who teaches people how to use the software on the longarm that we have.
You may not know this but my sister is the best at making my world easy and right. She always seems to know who to call to make things better.
After a few short minutes on the phone with Joyce Blowers, we now have a users manual for the Nolting Longarm and a users manual for the Quiltmagine software that is attached to the machine. Imagine that, just one phone call and we are headed in the right direction. We now have a private zoom class with Joyce Blowers in July. Wish us luck on reading the manuals and being ready for the class.
Well it looks like I just might be a longarmer after all, well at least after the zoom class.
I think after all of the issues we had the quilt turned out good for our first try.

Before the quilting.

After the quilting.
So what did I learn this month with the Fly Away challenge?
I learned that I do better with a deadline and wished it was earlier in the month so I would have finished this challenge earlier, maybe saving myself some stress.
That Hobbs Heirloom Cotton Batting is amazing to work with on the longarm and now know why people use it.

That I need to look for longarm thread and pray that there is one that comes from my favorite thread company Aurifil.

That I can always count on my sister to save the day! Then to go have a little Mexican food and drinks!
A huge shout out to Schemtz needles for working like a champ on the longarm even after breaking a few, yes a few.
Until next month what is on your sewing table today?
Victoria

Leave a reply to Toria Johnson Cancel reply